

Home Noise Reduction Guide for Quieter Rooms

A bedroom beside a busy street, a basement office below active family space, or a shared wall that carries every conversation can make a well-kept home feel far less comfortable. This home noise reduction guide helps you identify what you are actually hearing, then choose fixes that suit the room, the construction, and your budget. The goal is not to promise silence. It is to reduce unwanted sound in a way that looks clean, performs properly, and holds up over time.
Start by Finding the Sound Path
Most noise problems are not caused by one obvious weak spot. Sound travels through air gaps, framing, ductwork, doors, ceilings, and connected wall surfaces. A wall may look solid, but a small opening around an electrical box or an unsealed gap at the perimeter can let sound pass through surprisingly easily.
Before planning work, listen closely to the type of noise and when it occurs. Voices, television sound, traffic, footsteps, plumbing, and low-frequency bass behave differently. Airborne sound, such as conversations and music, usually moves through openings and lightweight surfaces. Impact noise, such as footsteps above, travels through the structure itself. The right solution depends on which one is causing the problem.
Walk through the room at different times of day. Check around windows, exterior doors, vents, pot lights, outlets, and the junction where walls meet ceilings or floors. If a sound seems loudest in one small area, that clue matters. It may point to a gap, a poorly sealed penetration, or a wall assembly that needs more than surface-level treatment.
Home Noise Reduction Guide: Fix Gaps Before Adding Layers
Sealing openings is often the most affordable first step. It will not turn a standard wall into a soundproof wall, but it can noticeably improve comfort when air leaks are part of the issue. Sound and air frequently travel through the same unsealed paths.
Careful acoustic sealant at drywall perimeters, around pipes, and behind trim can help. Weatherstripping and a proper door sweep can make a major difference for a bedroom or home office, especially where the door has visible clearance at the bottom or sides. For exterior noise, improving window and door seals is usually more practical than immediately rebuilding an entire room.
This work needs a careful hand. Caulking a visible crack may look like a quick fix, but hidden movement, damaged drywall, or an opening behind the finished surface can still affect performance. In older Lower Mainland homes, it is also common to find past renovations with unsealed cutouts, awkwardly routed services, or repairs that were never properly finished.
Add Mass Where Airborne Sound Comes Through
When voices, television, or street noise pass through a wall or ceiling, adding mass is one of the most dependable strategies. Heavier assemblies generally make it harder for airborne sound to move from one side to the other.
A second layer of drywall can help, particularly when installed as part of a complete system with properly sealed edges. Sound-dampening drywall is another option. It is designed with a damping layer that reduces vibration within the panel, making it useful where a standard extra layer may not provide enough improvement.
The trade-off is that more drywall adds weight, changes wall thickness, and may require adjustments at outlets, door casings, baseboards, and transitions. A clean result means planning these details before installation, not trying to hide problems after the fact. The finish also matters. Uneven seams, poor corner work, or a mismatched ceiling texture can make a worthwhile upgrade look like an unfinished renovation.
For one shared bedroom wall, a new drywall layer may be a sensible, contained project. For an entire suite or a basement ceiling, it is worth looking at the broader assembly first. More layers alone may not solve a noise issue if sound is still travelling through framing, ducts, or adjoining walls.
Decouple Walls and Ceilings When the Problem Is Structural
Decoupling means separating the finished drywall surface from the framing so vibration has a more difficult path to follow. This is often one of the most effective approaches for major renovations, basement suites, media rooms, and rooms below active living areas.
On walls, resilient channels or isolation clips can create that separation before drywall is installed. On ceilings, a decoupled assembly can reduce sound from footsteps, moving chairs, and daily activity above. Insulation in the cavity is usually paired with this work because it absorbs some of the sound energy inside the assembly.
However, installation details are critical. A channel or clip system can lose much of its benefit if screws accidentally connect the drywall back to the framing, if the perimeter is not sealed, or if heavy fixtures are attached without proper planning. This is not a place for shortcuts or guesswork.
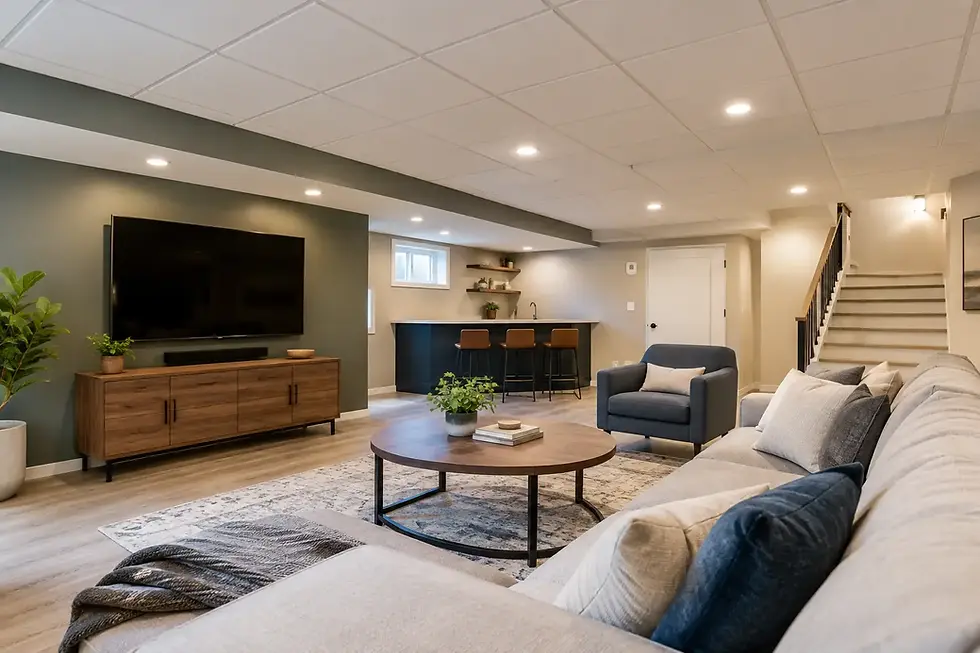
Decoupling also takes away a little room height or floor area, and it costs more than simply adding drywall. For a basement renovation in Vancouver, Burnaby, Surrey, or surrounding communities where ceiling height is already limited, that trade-off should be discussed honestly. Sometimes a carefully planned combination of insulation, sound-dampening drywall, and sealing gives a better balance of performance, space, and budget.
Treat the Ceiling for Footsteps Above
If you hear heels, running, furniture movement, or a repeated thump from the floor above, the ceiling assembly is usually the main place to focus. Fibreglass or mineral wool insulation between joists helps absorb airborne sound, but it does not fully stop impact vibration on its own.
For stronger results, combine cavity insulation with decoupling and additional drywall mass. If the upper floor is accessible during a renovation, improving the flooring assembly can also help. Carpet and quality underlay soften footfall much more than hard flooring, while a suitable acoustic underlayment may reduce some impact transfer beneath laminate, engineered wood, or vinyl plank.
No ceiling treatment can completely remove every impact sound from an active household. Low-frequency thuds and direct structural vibration are difficult to eliminate. A good contractor should set realistic expectations and explain the likely improvement rather than selling a guarantee that the construction cannot support.
Do Not Overlook Doors, Windows, and Ventilation
A high-performing wall can be undermined by a hollow-core door. Interior doors are often the weakest part of a room because they are light and have generous gaps around the edges. Replacing a hollow-core door with a solid-core door, adding perimeter seals, and installing a drop seal or sweep can make a home office or bedroom feel substantially more private.
Windows require a different approach. If traffic noise is the concern, start with weatherstripping and inspect the frame for gaps. Heavier curtains can soften reflected sound in the room and make the space feel calmer, but they do not replace a properly sealed, well-performing window. Secondary window inserts or window replacement may be considered when the issue is severe, though these options require a larger investment.
Do not block ventilation openings without understanding their purpose. Bathrooms, bedrooms, and suites need safe airflow. If noise is travelling through ductwork, the solution may involve duct changes, lined runs, or a different grille arrangement rather than simply covering the opening.
Plan the Work Around the Finish You Want
Noise control upgrades often involve opening walls or ceilings, adding drywall layers, and refinishing large surfaces. This is where experienced drywall work protects the value of the project. Repairs need to blend into surrounding finishes, corners need to remain straight, and ceiling texture needs to match if only part of a room is opened.
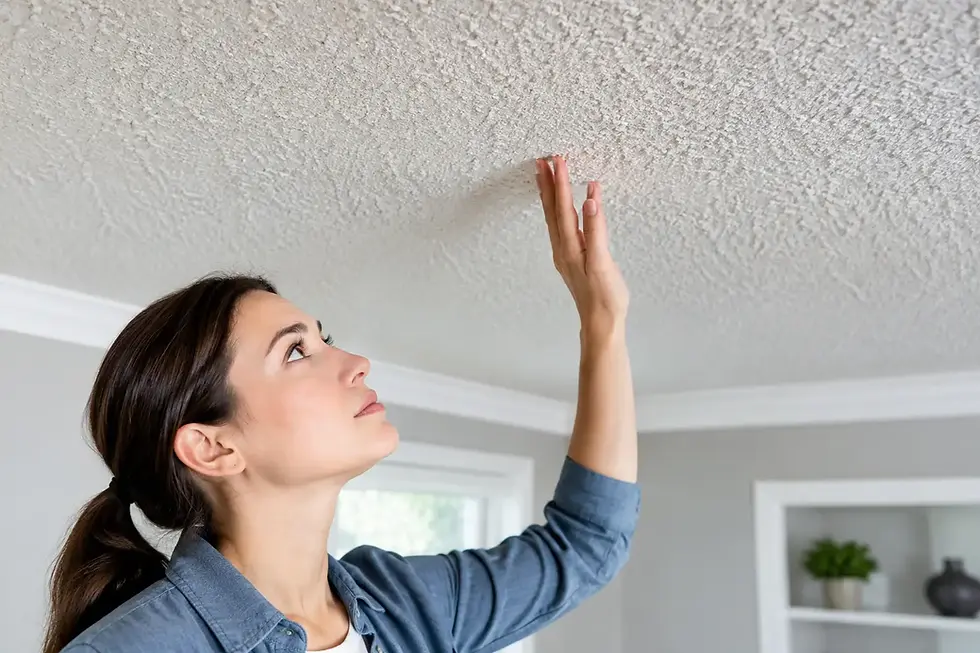
For popcorn ceiling removal, ceiling correction, or a basement renovation, it makes sense to consider sound control while the surface is already being rebuilt. Adding a sound-focused layer before final finishing is far easier and cleaner than reopening completed work later.
At Devlin Drywall, the right recommendation starts with the actual source of the noise and the condition of the existing assembly. Some rooms need a focused repair and careful sealing. Others need a new ceiling system or wall build-up that is planned from framing to final coat. A quieter room should still look like it belongs in your home, with clean lines and a finish you are proud to live with.
If noise is affecting sleep, work, privacy, or the way you use a renovated space, start by tracing the path instead of buying the first acoustic product you see. A thoughtful assessment can prevent wasted money and lead to a fix that feels better every day.

Comments