

Renovation Drywall Timeline: What to Expect

A drywall job can look nearly complete one afternoon and still need several days before paint belongs on the walls. That gap is where many renovation schedules get squeezed. A realistic renovation drywall timeline accounts for more than hanging sheets: it includes inspection, drying time between coats, careful sanding, touch-ups, and the conditions inside your home.
For a small repair or one-room renovation, drywall work may take only a few working days. A basement, main-floor remodel, or home with ceiling changes can take a week or longer, especially when other trades are moving through the same space. The goal is not to stretch the job out. It is to give each stage the time required for a finish that looks smooth in normal daylight, not just acceptable before the painter arrives.
What Determines a Renovation Drywall Timeline?
The size of the area matters, but it is rarely the only factor. A simple bedroom with straightforward walls is very different from a kitchen renovation with bulkheads, pot lights, new plumbing, cabinets, and multiple trades working to a tight sequence.
Ceilings also add time. Removing popcorn texture, repairing sagging areas, blending an existing texture, or finishing a large flat ceiling requires more preparation and closer attention to light. Ceiling imperfections tend to show more clearly, particularly where windows or recessed lighting cast shadows across the surface.
The number of coats is another major consideration. Taped joints, inside corners, outside corners, screw heads, patches, and beadwork need compound applied in stages. Each coat must dry before the next one can be applied properly. Trying to force that process can leave shrinkage, visible joint lines, cracking, or sanding damage that appears after paint.
In Lower Mainland homes, indoor humidity can make a meaningful difference. Rainy weather does not automatically stop drywall finishing, but cool, damp, poorly ventilated rooms can slow drying. Heat, airflow, and dehumidification can help when used carefully. The room still needs stable conditions, especially before primer and paint are applied.
A Typical Drywall Renovation Schedule
Every project has its own details, but the sequence below gives homeowners a practical picture of how drywall typically fits into a renovation.
Before drywall: framing and rough-ins
Drywall should not begin until framing is complete and the rough-ins behind the walls have been inspected where required. Electrical boxes need to be set correctly, plumbing and HVAC work need to be in place, and insulation should be installed before walls are closed.
This is the best time to confirm practical details that are difficult to change later. That may include backing for grab bars, wall-mounted televisions, heavy shelving, curtain rods, cabinets, mirrors, or handrails. If sound control, moisture resistance, or fire-rated drywall is part of the plan, those materials and assemblies need to be confirmed before installation begins.
A careful contractor will also look for framing issues that could affect the finish. A bowed stud, uneven bulkhead, loose corner, or poorly placed box can create a visible problem after the drywall is installed. Correcting it now is usually faster and less costly than trying to disguise it with extra compound later.
Day 1 to 2: board installation
For many room renovations, drywall installation takes one to two days. Sheets are measured, cut, fastened, and fitted around doors, windows, outlets, vents, and ceiling details. Larger spaces, high ceilings, difficult access, or sound-dampening and fire-rated assemblies may take longer.
This stage moves quickly compared with finishing, but accuracy matters. Proper fastening, clean cut-outs, solid corner treatment, and thoughtful sheet layout all make a difference to the finished appearance. Good installation also reduces unnecessary cracking and repair work down the road.
If you are coordinating other work, keep the drywall area clear during this stage. Flooring, cabinetry, trim, and delicate finishes are better protected or installed later when possible. Drywall crews can work cleanly, but the job naturally creates dust during cutting and finishing.
Day 2 to 5: taping and first coats
Once the boards are up, joints are taped and the first coat of compound is applied. Outside corners receive corner bead or another appropriate corner system, and fastener heads are covered. Repairs and transitions are built up gradually so they disappear into the surrounding wall.
This first finishing stage is not the final look. It creates a strong base for the next coats. Depending on the scope, a crew may return the next day or allow additional drying time before proceeding. Rooms with limited ventilation, cooler temperatures, or heavy compound application may need more time.
Homeowners sometimes see darker patches, ridges, or visible tape at this point and worry something has gone wrong. Usually, it simply means the work is mid-process. Drywall finishing is built in layers. The result should be judged after the final coat, sanding, prime coat, and final inspection, not halfway through the schedule.
Day 4 to 7: additional coats, sanding, and detail work
Second and third coats widen and refine the joints so they blend smoothly into the board. This is the stage where skilled finishing becomes especially visible. Flat walls, crisp corners, repaired cracks, and seamless ceiling transitions depend on the finisher's eye as much as the materials used.
After the final coat is fully dry, the surface is sanded and checked under good lighting. Small touch-ups are normal. A professional finish is not about rushing through one sanding pass. It is about finding the small details before they become noticeable after paint.
Sanding is also the dusty part of the process, even with containment measures and dust-reducing equipment. If your family is living in the home during renovation, ask how work areas will be isolated, how floors and belongings will be protected, and when it is best to keep children or pets out of the room.
Day 7 onward: primer, paint, and the next trade
Fresh drywall and joint compound should be primed before finish paint. Primer helps create an even surface so paint absorbs consistently and does not flash differently over joints, patches, and paper facing.
For a small job, priming may happen soon after final sanding. On larger renovations, the painter may come after the drywall crew has completed its final touch-ups. Either approach can work, provided the schedule leaves room for a proper inspection before baseboards, cabinets, fixtures, or built-ins make access more difficult.
Textured finishes follow their own timeline. Popcorn removal, orange-peel blending, knockdown texture, or a smooth ceiling finish can add steps and drying time. A smooth finish in particular deserves patience because it reveals far more than a textured surface.
Why Rushing Drywall Causes Problems
The temptation to rush is understandable when cabinets are booked, flooring is waiting, or move-in day is close. But drywall is one of the surfaces everyone sees every day. A rushed finish can show up as joint shadows, nail pops, cracked corners, bubbling tape, uneven texture, or patches that stand out after painting.
The trade-off is simple: a shorter schedule may look attractive on paper, but it can create corrective work that delays the project even more. A realistic schedule protects both the appearance of the renovation and the work that follows it.
That does not mean every project needs excessive downtime. With the right site conditions, planning, crew size, and drying support, a qualified drywall contractor can keep work moving efficiently. Honest scheduling is about recognizing which steps can overlap and which ones should not be pushed.
How Homeowners Can Keep the Schedule Moving
The most helpful thing a homeowner can do is make decisions before the drywall stage begins. Confirm ceiling details, access panels, soundproofing needs, wall-mounted items, texture choices, and lighting locations early. Late changes behind finished drywall often mean reopening surfaces and extending the timeline.
Keep heat and reasonable airflow available where possible, particularly during cooler months. Avoid turning off heat overnight if the space is being finished, unless your contractor advises otherwise. If other trades need access, coordinate that access rather than sending people into freshly coated or sanded areas without notice.
It also helps to plan painting, flooring, trim, and cabinet installation around the drywall finish instead of treating drywall as a one-day placeholder. The cleanest sequence is often drywall, primer, paint, then finish carpentry and fixtures, though renovation constraints can change that order.
For homeowners in Surrey, Burnaby, Coquitlam, Langley, and across the Lower Mainland, a site visit is the best way to turn a general timeline into a dependable one. At Devlin Drywall, that means looking at the actual conditions, identifying potential delays before work starts, and protecting the areas of your home that are not being renovated.
A good drywall schedule should leave you with more than walls that are ready for the next trade. It should leave you confident that the details were given enough time to disappear.


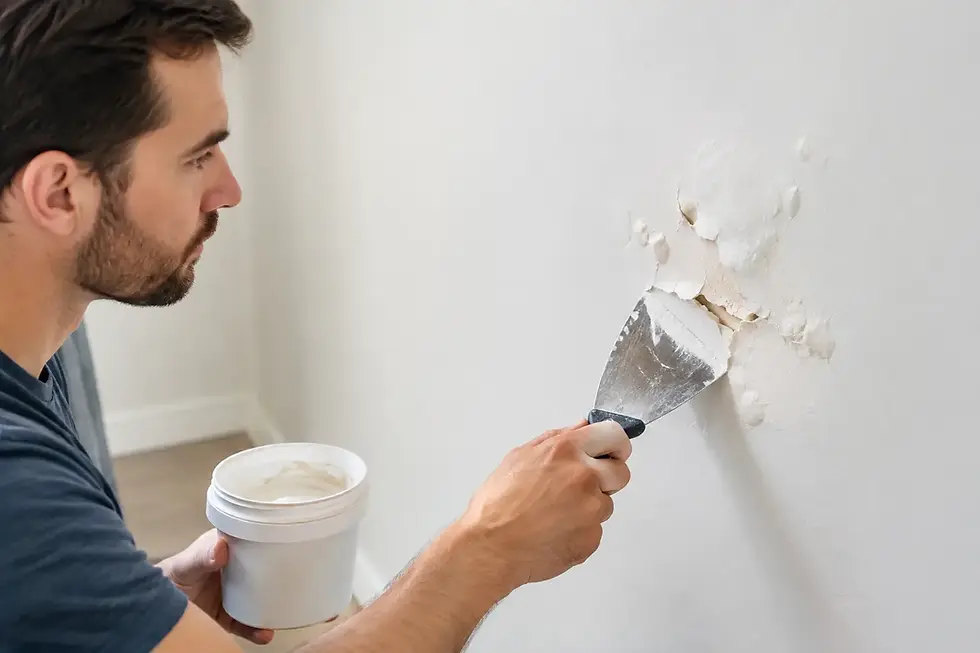
Renovation projects always seem to require more patience than expected, especially when drywall work involves drying, sanding, and several finishing stages. Knowing the timeline beforehand can help homeowners plan their schedules and avoid unnecessary frustration. I am a PhD student and work part-time at the affordable assignment. During my college days, I struggled academically, which inspired me to help others facing similar difficulties. That experience taught me the value of planning and persistence, whether managing home improvements or navigating challenges with Java assignment writing services.
. So refreshing to see someone say it straight. Great post!😀