
Drywall Installation That Stays Smooth for Years
- Devlin Drywall

- 6 days ago
- 6 min read
A new wall can look simple once it is painted. What you do not see is where the quality lives: straight framing, the right drywall board, properly placed fasteners, clean joints, and a finish that does not reveal every seam when afternoon light hits it. Professional drywall installation is not just about covering studs. It is about building a surface that stays smooth, solid, and ready for the way you use your home.
For homeowners planning a renovation, basement project, garage upgrade, or repair after a leak, getting the installation stage right prevents expensive finishing problems later. A coat of paint cannot hide a poorly hung board, loose corner bead, or a joint that was never prepared properly.
Start drywall installation with the room, not the board
The best board for the job depends on where it is going and what that space needs to do. Standard drywall works well in many dry living areas, but a bathroom, laundry room, garage, suite, or basement may call for a more specific product. Choosing by price alone can create problems that are difficult to correct once the wall is closed.
Moisture-resistant drywall is a sensible choice for humid areas, although it is not a substitute for a proper waterproofing system in a shower enclosure. Fire-rated drywall may be required between a garage and living space, around certain mechanical areas, or as part of a suite separation. Sound-dampening drywall can make a real difference around bedrooms, media rooms, shared walls, and basement suites, especially when it is paired with insulation and careful sealing.
Board thickness matters too. Half-inch drywall is common for residential walls, while five-eighths-inch board is often used where a more solid feel, better sound control, or fire rating is needed. Ceilings need particular attention. A board that is too thin or poorly supported can sag over time, leaving a result nobody wants to see above their head.
A smooth finish begins behind the drywall
Drywall follows the framing beneath it. If studs are bowed, twisted, wet, or unevenly spaced, the finished wall will reflect those issues. Before boards go up, the framing should be checked with a long straightedge. Problem areas can be shimmed, planed, or corrected before they become visible lines and waves in the finished room.
This is also the right time to think through what will be hidden in the wall. Electrical boxes should sit flush with the future drywall surface. Plumbing, wiring, ductwork, blocking for handrails or cabinets, and insulation should all be complete and inspected where required. Rushing this stage often means cutting into freshly finished drywall later.
Ceiling work deserves the same discipline. Whether the project involves replacing a damaged ceiling, covering an outdated texture, or finishing a new basement, ceiling framing must be level and properly supported. A ceiling is one of the most unforgiving surfaces in a home because light travels across it from every angle.
Hanging board is a layout job
Good drywall installation uses a deliberate layout rather than filling each opening with whatever piece fits. Full sheets are placed where they will create the fewest joints, and joints are staggered so they do not line up from row to row. This helps create a stronger surface and reduces the chance of visible cracking.
Whenever practical, boards are installed horizontally on walls. This can reduce the number of tapered joints and place seams at a more workable height for finishing. There are exceptions, particularly in small areas or on certain commercial assemblies, but the principle remains the same: plan the layout for the cleanest finished surface.
Cuts around doors, windows, outlets, and openings must be accurate. A common mistake is allowing joints to land at the corners of doors or windows. Those corners are natural stress points, and a seam there is more likely to crack. Experienced installers plan sheets so joints clear those corners whenever possible.
Fasteners need to be set consistently. A screw should sit slightly below the face paper without breaking it. If the paper tears, the screw loses holding strength and should be replaced nearby. Too few fasteners can lead to movement. Too many fasteners create unnecessary finishing work. The goal is secure board with clean, shallow dimples that can be filled properly.
Finishing determines what you see every day
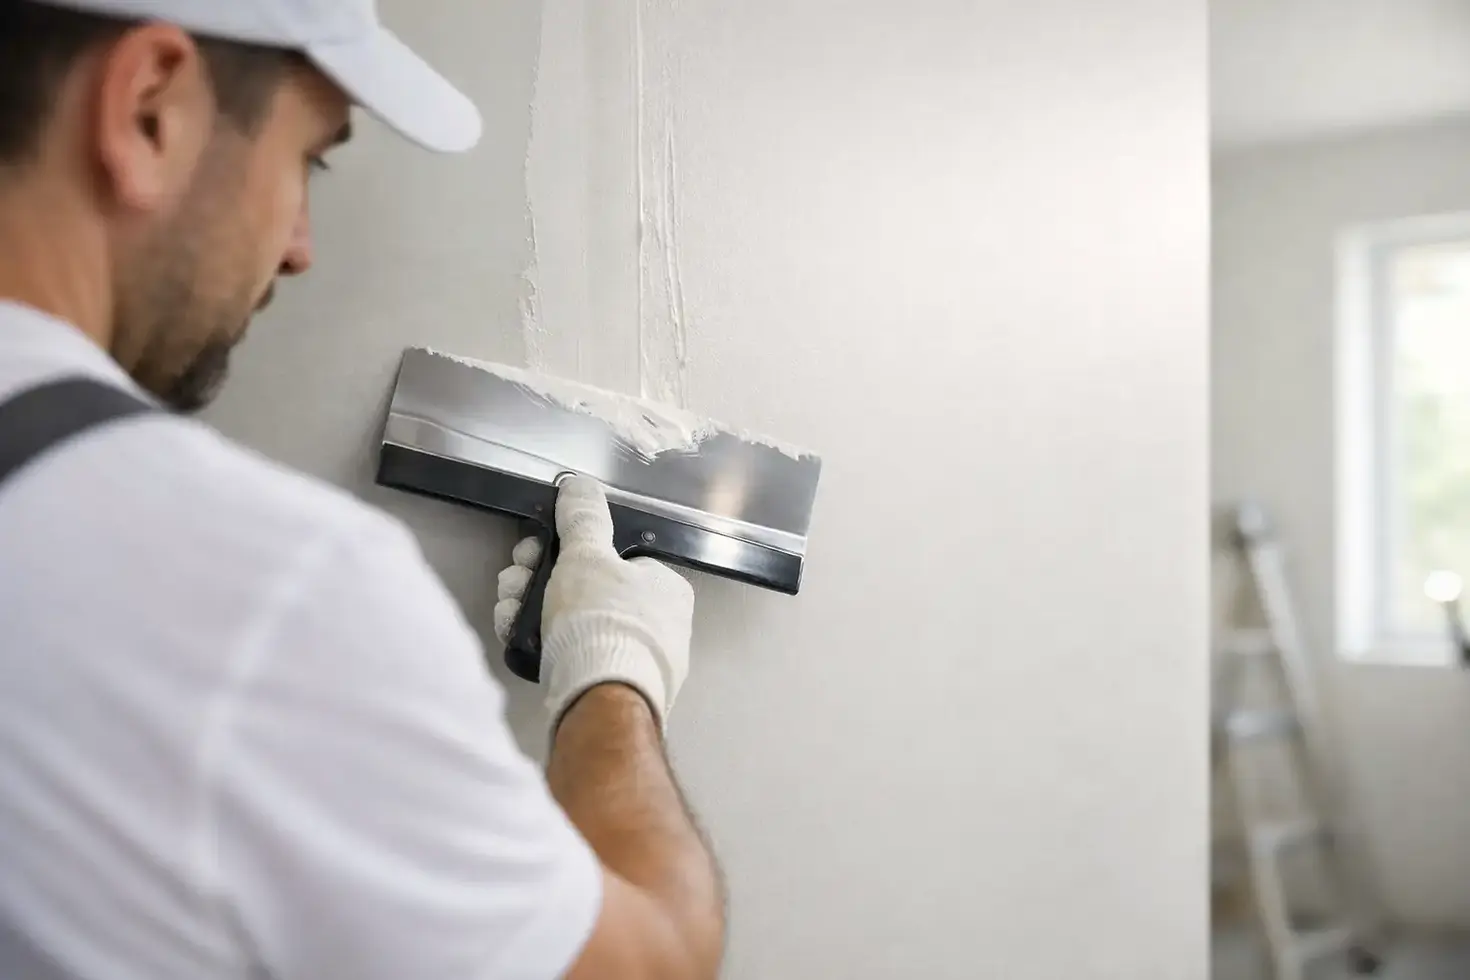
Hanging drywall is only half the work. Taping and finishing determine whether walls look crisp under paint or show seams, ridges, and flashing. Each joint needs tape embedded in joint compound, followed by progressively wider coats that feather the transition into the board. Corners, screw heads, and outside edges need the same patient attention.
The appropriate finish level depends on the final wall treatment and lighting. A heavily textured surface can hide more variation than a wall painted with a dark colour or satin sheen. Smooth walls in open-concept rooms, stairwells, and spaces with large windows require a higher standard because natural and directional light exposes flaws quickly.
This is where shortcuts become costly. Sanding alone does not fix a joint that was built too high, and adding paint over an uneven repair only makes the problem more noticeable. A quality finish comes from thin, controlled coats, proper drying time, careful sanding, and checking the surface from more than one angle.
Texture matching is its own skill
In many Lower Mainland homes, repair work is complicated by existing texture. Orange peel, knockdown, stipple, and older ceiling textures each require a different approach. The repaired section has to blend into the surrounding surface without creating an obvious patch or a hard edge.
Sometimes a small repair can be blended successfully. In other cases, especially on a ceiling with broad, uneven texture or multiple past repairs, the honest recommendation may be to refinish the full surface. It costs more than a spot repair, but it can be the better value when the alternative is a patch that remains visible every day.
Protect the home while the work is underway
Drywall work is dusty by nature, but it should not feel careless. A professional process includes protecting floors and furnishings, isolating work areas where possible, managing dust during sanding, and cleaning up at the end of the day. For occupied homes, that consideration matters as much as the finish itself.
Clear communication also keeps a project moving. Homeowners should know what work is happening, when sanding or priming is scheduled, and whether they need to clear access to certain rooms. If a hidden issue appears - water damage, mould, inadequate framing, or an electrical concern - it should be explained clearly before the work continues.
At Devlin Drywall, the goal is not to push a one-size-fits-all solution. A garage, a basement suite, and a living-room ceiling each have different requirements, and the recommendation should reflect the room, the budget, and the finish you expect.
When repairs are enough and when replacement makes sense
Not every damaged wall needs to be removed. Small holes, minor dents, popped screws, and isolated cracks can often be repaired cleanly. But recurring cracks, soft drywall, stains from an active leak, widespread tape failure, or a ceiling that has been patched repeatedly may point to a deeper issue.
Before repairing water damage, the source of moisture must be fixed. Before covering a crack, it is worth understanding whether normal seasonal movement caused it or whether framing movement is still active. Good drywall work addresses the cause, not just the visible symptom.
Replacement may also be the practical choice when homeowners are updating old popcorn ceilings, improving sound separation, or bringing a basement renovation up to current expectations. Opening the surface gives the opportunity to add insulation, correct wiring access, install pot-light backing, or improve fire separation where needed.
What to ask before hiring a drywall contractor
A quote should do more than provide a number. It should make clear what is being installed, what level of finishing is included, whether materials and cleanup are covered, and how unexpected issues will be handled. Ask whether the contractor is experienced with the specific challenge in your home, whether that is a smooth ceiling, moisture-resistant board, sound control, or blending an existing texture.
It is also fair to ask who will be doing the work and how the home will be protected. The lowest estimate can be tempting, but drywall is one of those trades where the difference often appears after the final coat of paint. A contractor who takes time to inspect the space, explain the options, and stand behind the workmanship offers value that is hard to measure on a line-item quote.
If you are planning drywall installation, take a few minutes to look at the room in different light, consider how the space will be used, and discuss the finish you expect before work starts. That early conversation can be the difference between a wall that simply covers a renovation and one that makes the whole room feel complete.


Comments